How to create LV with Visual LVM : RAID 6 - Manage LVM with Visual LVM, from 0 to ∞ (18)
Section 4 : The Logical Volume operations
Author : weLees
Contents and compilations published on this website by the providers are subject to international copyright laws. Reproduction, editing, distribution as well as the use of any kind outside the scope of the copyright law require written permission of the author or weLees.
Section 4.1.7 Create Logical Volume - RAID 6
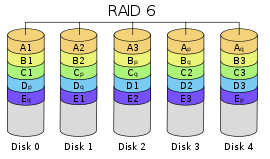
RAID 6 consists of block-level striping with dual distributed parity. Dual parity provides fault tolerance for up to two failed drives. Other than that, it is similar to RAID 5. Of course, RAID 6 also has its own check stripe layout.

The RAID 6
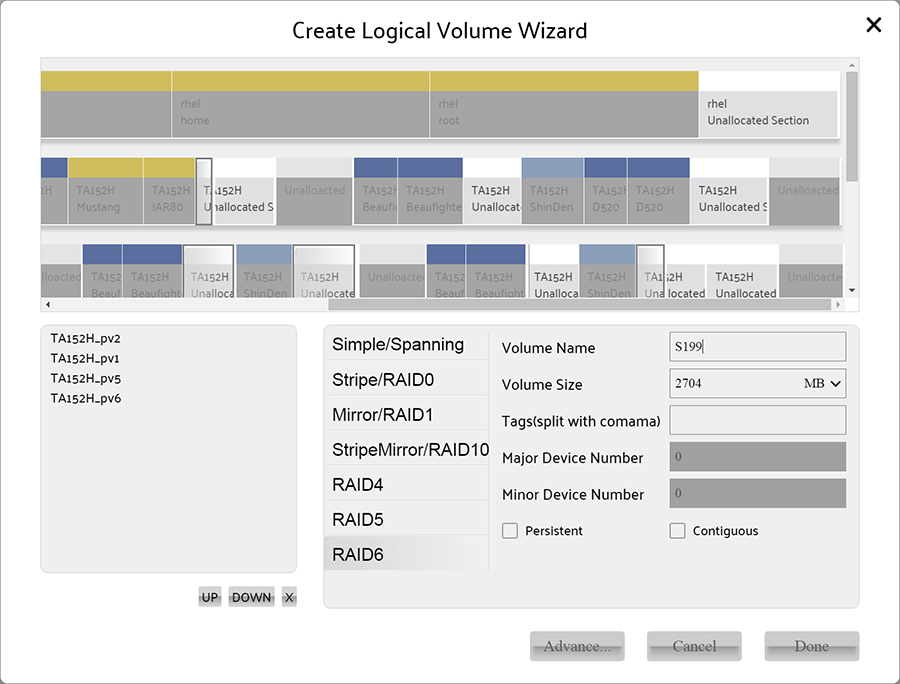
To create RAID 6 volume, you need to select at least 5 Physical Volumes (3 for data, 2 for parity) which belongs to the same Volume Group.

select at least 5 Physical Volumes for create raid 6 volume
The capacity of RAID 6 is : (section number - 2) * section capacity
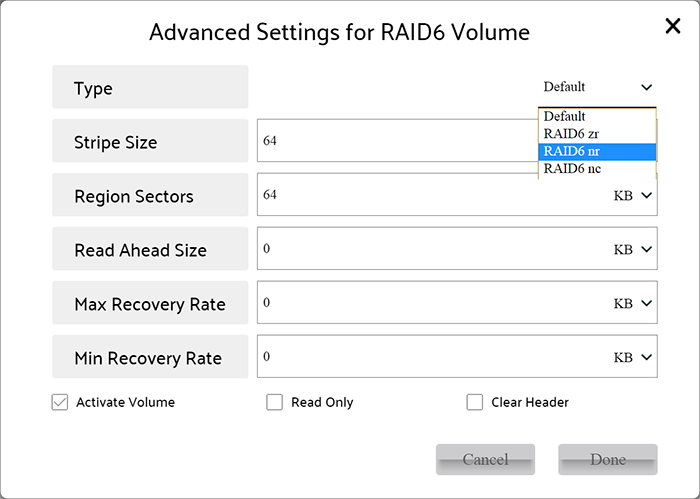
And you can press Advance... button to change default settings of Logical Volume.
Usually user need not to change the default advance settings of Logical Volume.
The advanced settings of RAID 6 is the same with RAID 5 except parity layout setting.

Advanced settings of Logical Volume
There are many parity layout order for RAID 6, but the LVM 2 supports RAID 6 nc, RAID 6 nr, RAID 6 zr only.
When all settings finished, press Done button on creating Logical Volume wizard to perform operation.
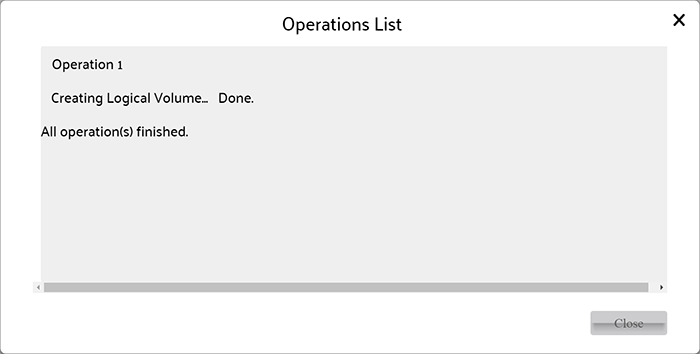
After operation finished, Visual LVM shows follow dialog to inform user that Logical Volume has been created.

Logical Volume created
Here we have finished the chapter creating Logical Volume with Visual LVM. It is really a big project.
Finally!